HomeRiver Group brings unmatched scale, experience, and consistency to residential property management. With operations in over 32 states, our nationwide team delivers expert service with local insight. We simplify ownership, increase rental performance, and support landlords with systems that work. Investors rely on us for dependable results, strategic guidance, and professionalism that turns property management into long-term value creation.
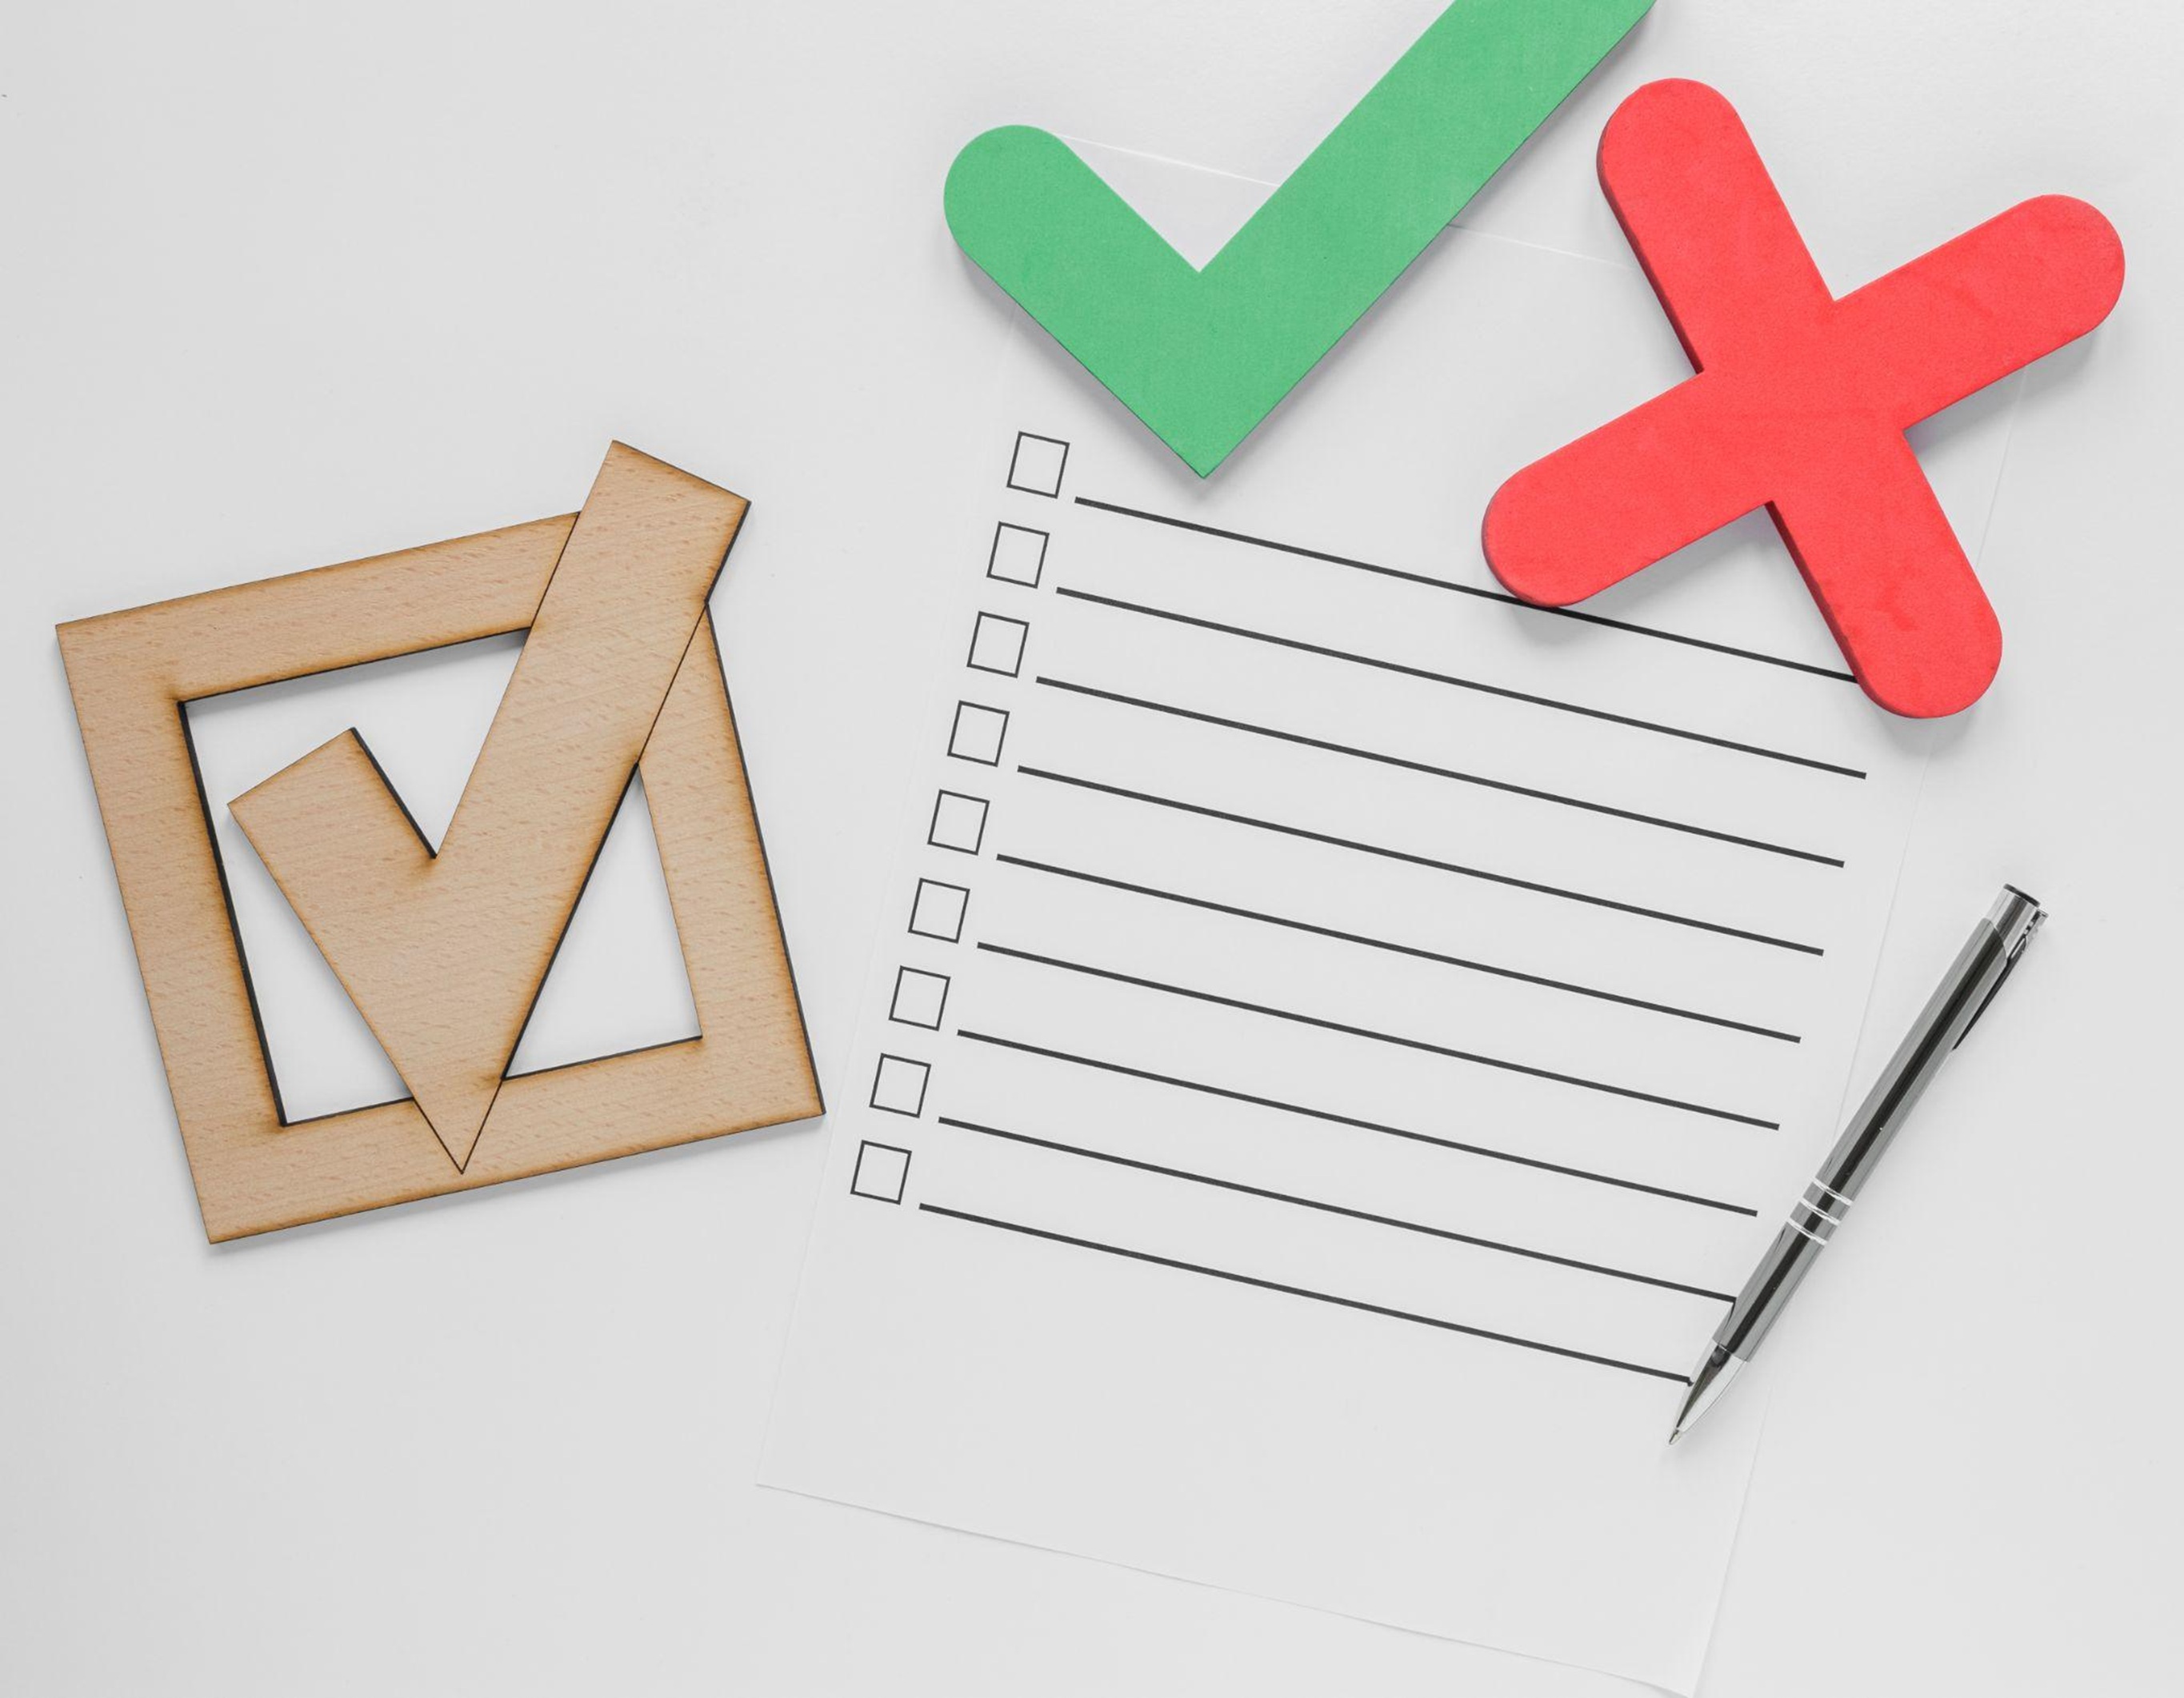
A tenant’s departure marks the end of a lease and sets the stage for what comes next. A strong move-out checklist can help landlords avoid costly oversights, ensure legal compliance, and prepare the property for new occupants without delays. From final inspections to key returns, every step matters. Planning protects your investment and supports faster turnover. Whether you're a new or seasoned landlord, a structured approach makes all the difference.
This blog will explore the essential components of a practical move-out checklist, including inspection tips, communication strategies, and best practices for handling deposits and preparing your property for its next tenant.

Preparing For Tenant Departure
As the lease term nears its end, setting the stage for a smooth move-out process is essential.
Communicate Expectations Early
Begin by giving your tenants an official notice regarding move-out procedures and their required timeline for vacating the property. Clear communication at this stage helps manage expectations for you and your tenants. If you're unsure how much notice a landlord has to give a tenant to move out, check local regulations early to ensure compliance and avoid delays.
Provide A Clear And Detailed Checklist
Next, share a detailed move out checklist that outlines cleaning standards, disposal expectations for trash or unwanted items, and reminders for returning all keys and remotes. Specify any requirements for repairs or touch-ups, such as patching nail holes or repainting marked walls, to minimize misunderstandings and ensure the unit’s condition aligns with your benchmarks.
Conduct A Pre-Move-Out Walk-Through
Conduct a walk-through inspection prior to the official move-out date. This gives your tenants an opportunity to address potential issues in advance, reducing disputes over security deposits. Arrange a time that works for both parties and bring along your inspection report or checklist. Document the property’s state with photos or video to create a reliable record.
Final Steps Before Move-Out
Finally, clarify the process for utility transfers or shut-off and provide instructions for forwarding mail. Anticipate questions your tenants might ask and be ready with helpful, precise guidance. When you maintain transparency and clear standards throughout each step, you build trust, and pave the way for a smoother transition between tenants.
Conducting A Thorough Property Inspection
A detailed property inspection is one of the most crucial steps on your move-out checklist.
Schedule A Joint Walk-Through
Begin by scheduling a walk-through with your tenant, ideally when most or all personal belongings are removed. This joint walkthrough creates transparency, allows your tenant to address any concerns, and helps avoid disputes later.
Compare To Move-In Condition
During the inspection, reference the original move-in inspection report. Compare the property's current condition against the documentation and photos taken at move-in. Pay close attention to high-traffic areas, entryways, kitchens, and bathrooms, as these often show the most wear. Check for damage beyond normal wear and tear, such as stained carpets, wall holes, or broken appliances.
Check Fixtures, Systems, And Functionality
Test all systems and fixtures. Ensure that hardware like door handles, locks, light switches, smoke detectors, and faucets function as intended. Document everything: take clear, timestamped photos for your records. If you discover any issues, make detailed notes, particularly about what may require repair or cleaning, before showing the property to new tenants. A reliable rental property inspection checklist can help ensure nothing is overlooked during this critical step.
Don’t Forget Exterior Spaces
Lastly, inspect exterior spaces if applicable. Look for landscaping neglect, exterior wall damage, or discarded items in yards and common areas. A comprehensive inspection process ensures both parties clearly understand the property’s condition at move-out, laying the groundwork for a smoother tenant transition.
Handling Security Deposit Returns
Processing and returning a security deposit is critical as you transition to new tenants. You need a detailed and systematic approach to comply with state regulations and maintain trust.
Conduct A Post-Move-Out Inspection
Begin by thoroughly inspecting the property after the tenant has vacated, using your move-out checklist as a guide. Document the condition of every room with photos and written notes, comparing them to the move-in inspection report.
Identify And Document Deductions
Itemize any damages beyond normal wear and tear. Standard depreciation is expected, but repairs that exceed generally accepted use—such as holes in walls or broken appliances—can be deducted from the deposit. Ensure to collect all receipts or invoices related to repairs or cleaning, as transparency is essential if a tenant disputes any deduction.
Communicate And Comply With State Laws
Communicate your findings to the tenant in writing. Most jurisdictions require you to return the remainder of the deposit and an itemized statement of deductions within a set time frame—commonly 14 to 30 days. Landlords often ask how long a landlord has to return a deposit, and the answer varies by state, so always verify your local requirements to avoid potential penalties.
Set The Tone For A Professional Transition
Prompt, precise, and thorough handling of the security deposit fulfills your legal obligations, demonstrates professionalism, and helps ensure a smooth tenant transition.

Addressing Necessary Repairs And Maintenance
Organizing repairs and maintenance is a critical component of the move-out checklist.
Conduct A Detailed Property Assessment
Inspect the property as soon as the tenant notifies you of their intent to move. Pay attention to both obvious damage and less noticeable issues, such as leaky faucets, chipped paint, or faulty appliances. Use a standardized inspection form to document the property's condition, and take detailed photographs to support your findings.
Clarify Responsibilities With The Tenant
Clear communication can streamline this process. Provide the tenant with a list of any repairs you expect them to handle based on your lease agreement, such as nail holes or light cleaning. For maintenance concerns that fall under your responsibility, engage qualified vendors promptly to address the issues before the next leasing period. Keeping tenants informed about what is required reduces confusion and potential disputes over security deposit deductions.
Prepare The Property For Future Tenants
Timely repairs protect your investment and demonstrate your commitment to property quality. Ensuring all maintenance concerns are resolved before showings or new occupancy sets a professional standard and prepares the property for its next resident. Use this stage as an opportunity to address minor upgrades, ensuring your unit remains competitive in the market. If you’re planning to extend the tenancy or start a new term, understanding lease extension renewal the main differences can help clarify when to initiate repairs or upgrades and how to structure the next agreement.
Steps For A Smooth Tenant Transition
Successfully transitioning between tenants requires careful attention to detail and clear communication. Following a thorough move-out checklist is essential to protect your investment, maintain property condition, and ensure a positive experience for future tenants.
Here are key steps to streamline the process:
Provide Notice & Documentation: Start by confirming all legal notice requirements are met. Inform tenants of their move-out responsibilities, expected timelines, and final inspection dates. Supplying a detailed checklist outlining cleaning, repair, and key return expectations sets a clear standard and minimizes disputes.
Inspect The Property Together: Schedule a walk-through inspection with your outgoing tenant. Going room by room, note any damages or areas needing attention beyond normal wear and tear. Document findings with photos or video, and have a detailed report signed by both parties. This transparency helps avoid confusion during security deposit reconciliation.
Address Repairs & Maintenance: Once the property is vacated, assess what’s needed to return it to rentable condition. Coordinate repairs for any damage found during inspection. Don’t overlook preventative maintenance; servicing HVAC systems, checking smoke detectors, and inspecting plumbing ensures the next tenant’s safety and satisfaction. Referencing a reliable property management checklist during this phase can help ensure no critical step is missed.
Change Locks & Secure The Property: For security, arrange for locks to be changed between tenants. Verify all keys, garage remotes, and access cards are returned, and update any digital access codes.
Final Clean & Turnover Preparation: Hire professionals or thoroughly clean all living spaces, appliances, and common areas. Replace air filters and light bulbs as needed. A spotless, well-maintained home leaves a strong first impression and sets expectations for your next renter.
Handle Utilities & Move-In Readiness: Confirm that utilities have been properly transferred or scheduled for activation. Prepare the property with welcome materials, essential emergency contact information, and community rules or guidelines to streamline the new tenant’s move-in process.

Final Thoughts
Ensuring a seamless tenant transition is a vital aspect of successful property management. By following a comprehensive move-out checklist, you safeguard your investment and maintain positive relationships with outgoing tenants, laying the groundwork for incoming residents.
At HomeRiver Group, we understand the complexities of every move-out, from diligent inspections to security deposit returns and detailed documentation. Our experience across diverse markets has shown that consistency, transparency, and attention to detail are key components in minimizing disputes and reducing vacancy times.
Prioritize a thorough move-out checklist, and you will see the benefits in tenant satisfaction and the sustained success of your property investments. Your property is our priority—let us help you achieve a smooth and positive transition every time.
Read also:
Not Renewing A Lease Letter: How Landlords Can End Tenancy The Right Way
What Percentage Does Airbnb Take And Why Long-Term Rentals Might Be The Smarter Choice
Lessor vs. Lessee: Understanding The Legal Roles In Your Lease Agreement
Frequently Asked Questions About Move-Out Checklist
How do I ensure a tenant leaves my property in good condition?
Clear communication is key. Provide your tenant with a written move-out checklist well in advance, outlining your expectations for cleaning, repairs, and the return of keys. If possible, conduct a pre-move-out walkthrough so both parties are aligned on what needs attention. At HomeRiver Group, we recommend detailed documentation at every stage and maintaining open lines of communication to minimize misunderstandings.
What are the common areas of dispute during move-out inspections?
The most frequent areas of dispute involve security deposit deductions, cleanliness standards, and the distinction between normal wear and tear and actual damage. You can provide a fair and transparent assessment by referencing your initial move-in report and supporting your move-out inspection with detailed notes and photos.
Can I use photographs as part of the move-out inspection?
Absolutely. Photographs—with date stamps—provide objective documentation that can help protect both landlord and tenant in case of disagreements. By capturing the property's condition before and after tenancy, you create a clear, visual record that supports your inspection findings.
How much notice should I give a tenant before conducting a move-out inspection?
We recommend giving your tenant at least 24 to 48 hours’ written notice before any move-out inspection, but always check your state and local laws for specific requirements. Providing notice in writing ensures that your tenant has adequate time to prepare and be present if they choose.
What are my responsibilities as a landlord during the move-out process?
As a landlord, your responsibilities include conducting a fair and thorough inspection, providing an itemized list of any proposed deductions from the security deposit, and returning the remainder within the legally required time frame. You should also be responsive to reasonable tenant questions and provide clear documentation of any issues found during inspection.
How do I document wear and tear versus damage?
Distinguishing wear and tear from damage is crucial. Wear and tear refers to deterioration from normal use—like faded paint or minor carpet scuffing—while damage involves neglect or abuse, such as holes in the wall or stained carpets. Document these differences in your move-out checklist with written descriptions and photographs to ensure complete transparency.
What if a tenant leaves belongings behind?
If a tenant leaves personal belongings after move-out, you must follow your state’s procedures for handling abandoned property. Typically, you’ll need to provide written notice, store the items for a specific period, and attempt to contact the former tenant. It’s crucial not to dispose of belongings prematurely, compliance with local laws reduces liability and demonstrates professionalism.